
To fix your 4Runner's ignition, start by disconnecting the negative battery cable to guarantee safety. Gather necessary tools such as a screwdriver and wrench. Remove the screws holding the ignition switch cover, then pull out the plastic and trim to access the ignition cylinder. Turn the ignition to the ACC position, push the release pin, and gently pull out the old cylinder. Insert the new cylinder, ensuring correct alignment and a secure fit. Reattach the screws and reconnect the battery terminals. Test the new ignition by turning the key to the 'ON' position and observing the dashboard. Follow these steps for a smooth repair process.
Key Takeaways
- Disconnect the negative battery cable to ensure safety before starting any repairs.
- Remove screws and bolts to access the ignition switch cover and housing.
- Turn the ignition switch to ACC, push the release pin, and gently remove the old ignition cylinder.
- Insert the new ignition cylinder, ensuring it aligns with the release pin hole and is fully seated.
- Reconnect the battery terminals, then test the new ignition cylinder by turning the key to the 'ON' position and starting the engine.
Disconnect the Battery

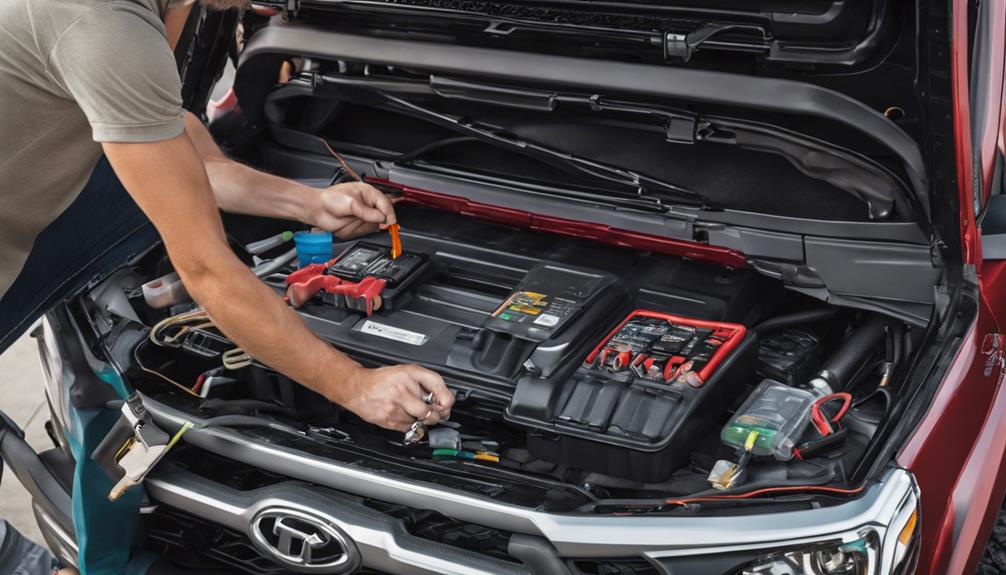
To begin fixing your 4Runner's ignition issue, start by disconnecting the battery to prevent any electrical hazards. This step is essential as it guarantees safety and prevents accidental starts during the repair process. First, locate the negative battery cable, which is typically marked with a minus (-) sign or black color. Using the proper wrench or socket, carefully loosen the nut and remove the cable from the battery terminal. Make sure to tuck the cable away to avoid any accidental reconnection.
Depending on the repair you're undertaking, you might also need to disconnect the positive terminal, marked with a plus (+) sign or red color. Follow the same procedure as with the negative cable: loosen the nut and remove the cable from the terminal. This additional step can further confirm that the electrical system remains completely inert, minimizing any risk of damage while you work on the ignition.
Gather Necessary Tools
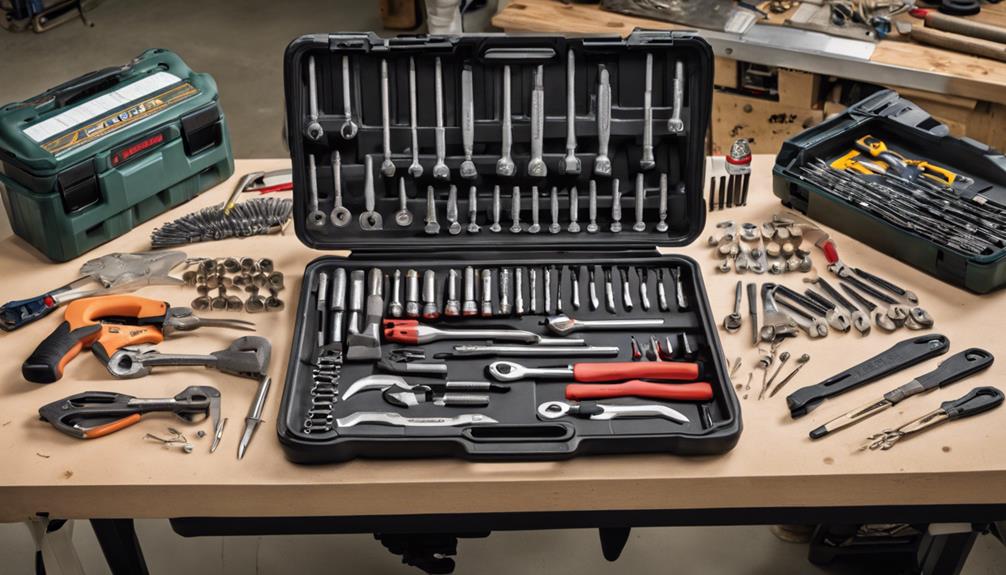
Prior to delving into the ignition repair, gathering all the necessary tools is crucial to streamline the process. Having everything ready will prevent interruptions and make the fix go more smoothly. Start by ensuring you've got the basics covered with a screwdriver, punch, and possibly a wrench. These tools are often vital for effectively addressing 4Runner ignition issues.
Here's a quick checklist to keep you organized:
- Screwdriver: You'll need this for removing and replacing screws that secure ignition components.
- Punch: This tool is useful for aligning and removing pins, especially if you need to work on the ignition cylinder.
- Wrench: Depending on the specific problem, a wrench might be necessary for loosening bolts or nuts that hold various ignition parts in place.
Having the right tools on hand not only saves time but also boosts your confidence in completing the job successfully. Understanding what specific tools your ignition issue requires is crucial, as this can vary. By preparing in advance, you'll avoid the frustration of stopping mid-repair to search for a missing tool. So, take control of the situation and set yourself up for a smooth and efficient repair process.
Remove Screws and Bolts
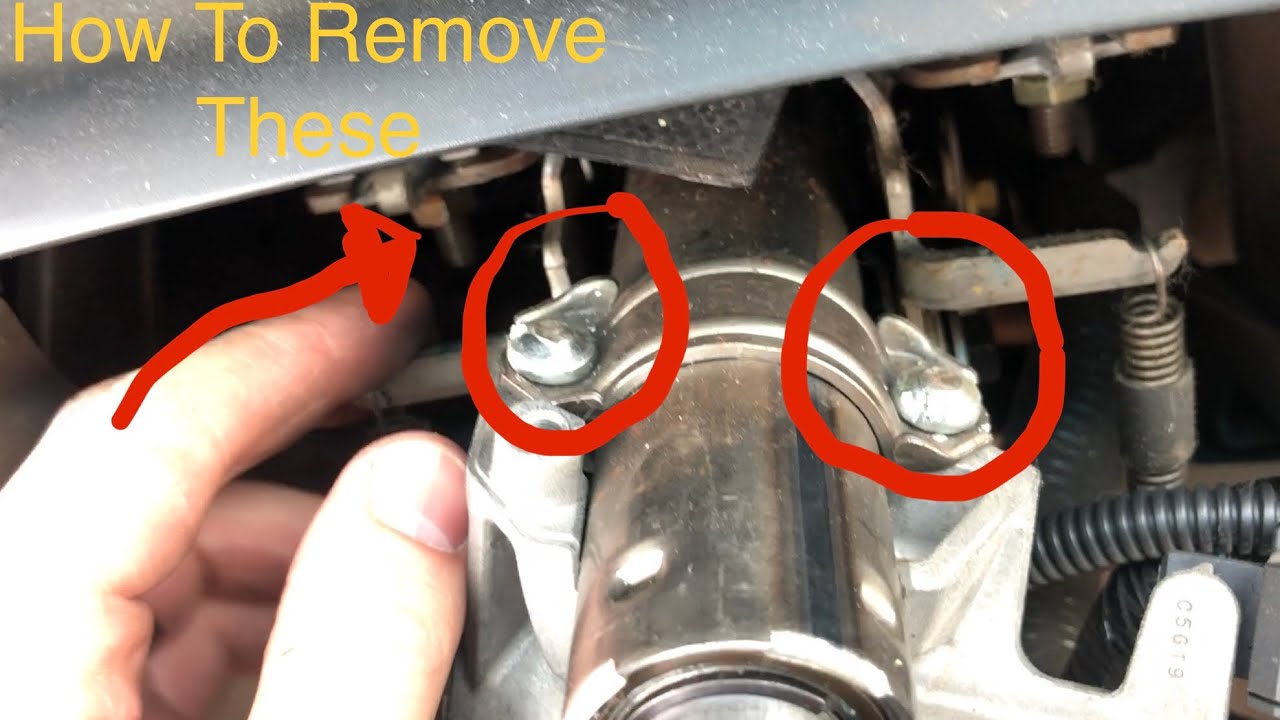
Carefully locate and remove the screws holding the ignition switch cover in place. Start by identifying all visible screws. Use a screwdriver or another important tool to extract them carefully, ensuring you don't damage the cover. Some screws may be hidden under decorative caps or labels, so inspect the area thoroughly.
Once you've found all the screws, take note of their number and placement. This step is vital for ensuring proper reassembly later. Keep a small container or magnetic tray handy to store these screws and bolts, avoiding any risk of losing them. Each screw has a specific role, and missing even one can complicate the reassembly process.
As you remove each screw, remember that precision is key. Gentle handling prevents unnecessary wear on the components. If any screws feel stuck, don't force them. Instead, take your time to apply gradual, steady pressure to avoid stripping them.
Detach Old Ignition Cylinder

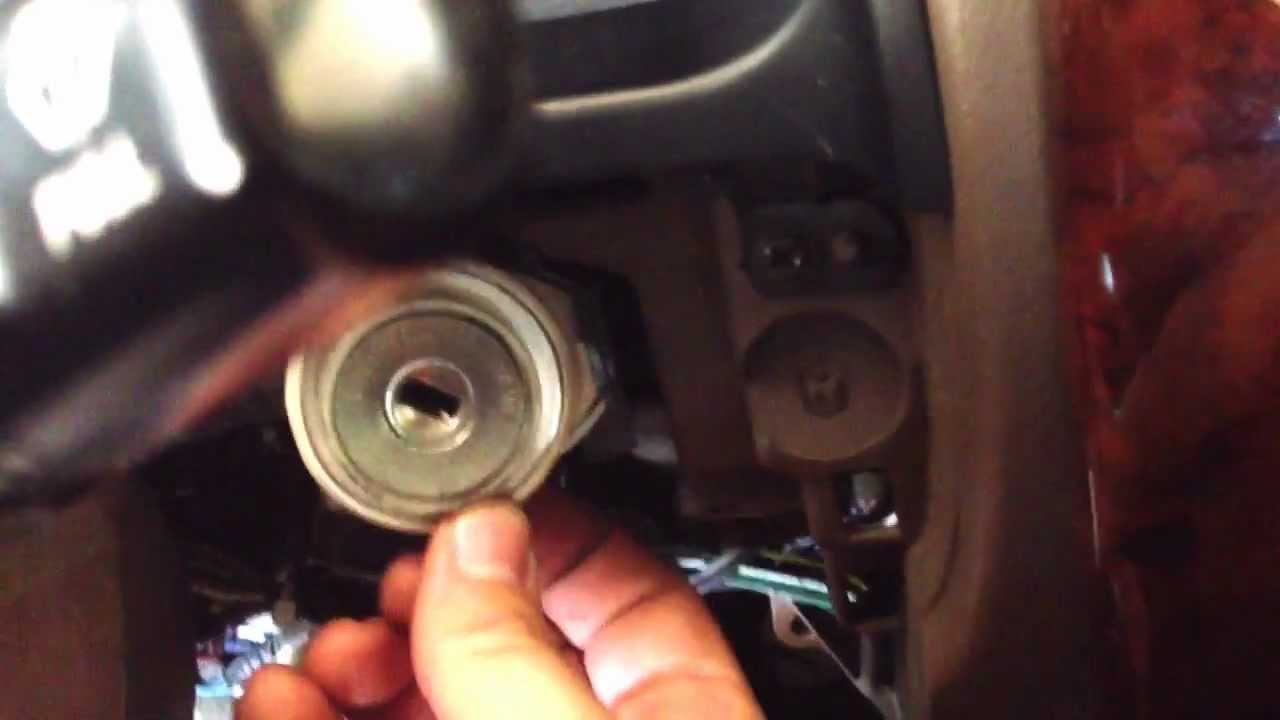
Begin by removing the plastic and trim to access the aluminum housing of the ignition cylinder. This step is vital for getting to the ignition cylinder itself. Next, you'll want to turn the ignition switch to the ACC position. This setting is important before proceeding with the removal process.
Locate the release pin hole in the aluminum housing. Here's a quick rundown of what you need to do:
- Use a 1/8 inch punch: Push the release pin through the hole.
- Carefully pull out the old lock cylinder: Gently remove it from the housing.
- If stuck, use a screwdriver: Force it to the ACC position before attempting to remove it again.
By following these steps, you maintain control over the process and minimize the risk of damaging other components. The release pin is your key to freeing the old ignition cylinder. Make sure you apply steady pressure with the punch to avoid breaking or bending it.
If the lock cylinder is stubborn, don't hesitate to use a screwdriver to nudge it into the ACC position. This extra step ensures a smoother removal process. Once the old cylinder is out, you're ready for the next phase.
Install New Ignition Cylinder
Slide the new ignition cylinder into the aluminum housing, making sure it aligns perfectly with the release pin hole. Before doing this, make sure the ignition switch is still in the ACC position. This alignment is vital for the new cylinder to fit smoothly and operate correctly. You'll feel it click into place when it's properly seated.
To maintain control over the process, be mindful of the orientation of the cylinder. Insert it gently but firmly, avoiding any unnecessary force that could damage the components. The precision here ensures your new ignition cylinder will function seamlessly, giving you the reliability you expect from your 4Runner.
Double-check that the release pin is engaged and fully seated in the pin hole. This step secures the cylinder and prevents it from moving or dislodging during operation. If it doesn't click into place, remove it and try re-aligning it.
Lastly, take a moment to test the new ignition cylinder by turning it through all positions—LOCK, ACC, ON, and START—to ensure it moves smoothly. This simple test confirms that the installation was successful and that your ignition system is ready for use.
Reattach Screws and Bolts
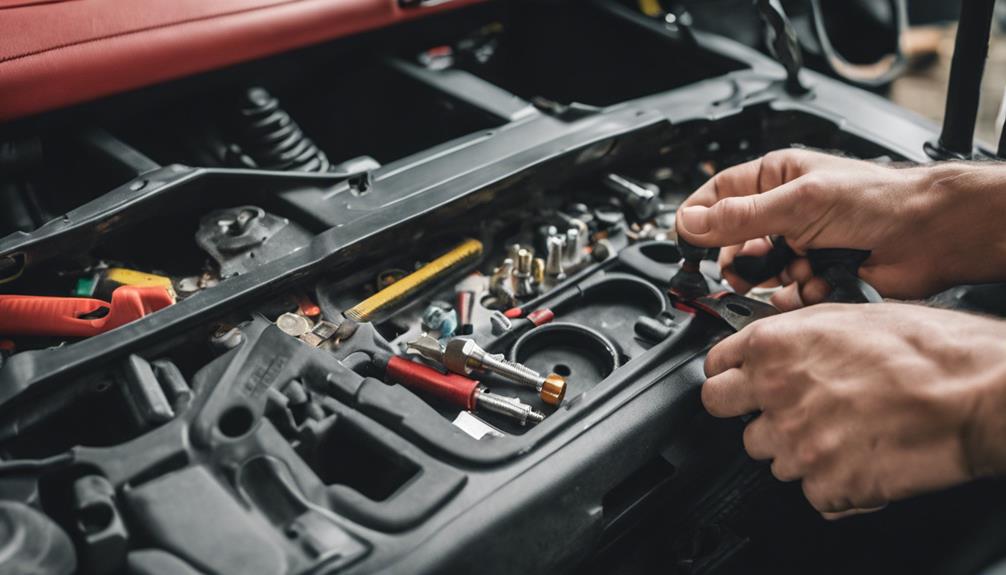
Verify all screws and bolts are securely reattached to prevent any loose connections in your ignition assembly. This step is important to make sure everything functions smoothly and safely. Start by aligning the ignition components correctly. Misalignment can cause issues down the road, so take your time here.
Use the appropriate tools, like a screwdriver or wrench, to tighten the screws and bolts effectively. It's essential that each screw and bolt is in its proper place. Here are three quick steps to guide you:
- Check for Missing Screws: Before securing anything, make sure you haven't misplaced or missed any screws. Missing elements can compromise the entire assembly.
- Properly Align Components: Make sure all parts are properly aligned before you start tightening. Misalignment can lead to operational problems or even damage.
- Double-Check Tightness: Once everything is in place, go over each screw and bolt again to double-check their tightness. This ensures that your ignition assembly is firmly secured.
Don't rush this step. A loose screw or bolt can lead to significant issues, including the ignition failing to start or even damaging the new ignition cylinder you just installed. Take the necessary time to make sure everything is secure.
Reconnect Battery and Test
Now that you've reattached the screws and bolts, it's time to reconnect the battery to restore power. Make sure to secure the battery connections properly, then start the vehicle to verify the ignition's functionality. Finally, check for any error codes to confirm the repair's success.
Secure Battery Connections
Confirm that the battery terminals are securely connected to maintain a reliable power supply to your 4Runner's ignition system. A secure connection is vital for preventing power loss and keeping your vehicle's electrical components functioning properly. Here's how you can make sure your battery connections are in top shape.
- Inspect the Terminals: Look for corrosion or dirt on the battery terminals. Clean them with a wire brush if necessary to ensure a good connection.
- Tighten the Clamps: Use a wrench to tighten the battery terminal clamps. They should be snug but not overly tight to avoid damaging the terminals.
- Test the Connection: Once everything is reconnected, try starting the vehicle. If it starts without hesitation, your connections are likely secure.
A weak or loose battery connection can lead to ignition failure and other electrical issues. By confirming that the battery is properly connected, you eliminate one of the most common causes of ignition problems. This straightforward step is essential in diagnosing and fixing any ignition-related issues in your 4Runner. Taking control of this process ensures your vehicle remains reliable and ready for any journey.
Verify Ignition Functionality
Ensuring your 4Runner's ignition system functions correctly begins with reconnecting the battery and testing the ignition. Start by securely reattaching the battery terminals, making sure they're tight to avoid any loose connections. This step is vital because a stable power supply is necessary for the ignition system to operate effectively.
Once the battery is reconnected, you can proceed to test the ignition. Insert your key into the ignition lock cylinder and turn it to the 'ON' position. Pay close attention to the dashboard lights and listen for any unusual sounds. This will help you identify whether the new lock cylinder is installed correctly and if it's functioning as it should.
Next, attempt to start the engine. If the engine starts smoothly and without hesitation, it indicates that the ignition system is working properly. This confirmation is important to make sure that the issue with the ignition lock cylinder has been resolved. If the vehicle starts and runs smoothly, you can be confident that the repair was successful.
Check for Error Codes
After reconnecting the battery, use an error code scanner to check for any diagnostic trouble codes (DTCs) related to the ignition system. This step is important as it helps pinpoint the exact issues affecting your 4Runner's ignition. Here's how you can proceed:
- Reconnect the Battery: Securely reconnect the battery terminals to make sure a proper power supply. This action resets the system and clears any old codes that might have been stored.
- Use an Error Code Scanner: Plug the scanner into the OBD-II port, typically located under the dashboard. Follow the device's instructions to initiate the scan. The scanner will read any DTCs that could be causing ignition problems.
- Interpret the Codes: Once the scan is complete, note down the error codes. These codes will provide detailed information on specific issues, allowing you to understand what's wrong with the ignition system.
Frequently Asked Questions
How Do You Diagnose Ignition Problems in a 4runner?
To diagnose ignition problems in your 4Runner, start by checking for signs like difficulty turning the key or needing multiple attempts to start the vehicle. Verify if the ignition switch or tumbler needs replacement by seeing if the key engages properly. Listen for unusual sounds when turning the key. Test the ignition cylinder for wear by trying to remove the key while running. Seek expert advice for accurate troubleshooting.
What Are Common Symptoms of a Failing Ignition Cylinder?
Imagine turning the key and it feels like wrestling with a stubborn lock. That's a common symptom of a failing ignition cylinder. You might struggle to turn the key, or worse, it gets stuck. Sometimes, the key spins freely or even comes out while the engine's running. These issues don't just irritate you; they can prevent your 4Runner from starting, disrupting your control over the vehicle.
Can a Faulty Ignition Cylinder Affect the Vehicle's Security System?
Yes, a faulty ignition cylinder can certainly impact your vehicle's security system. When the ignition cylinder malfunctions, it can cause starting issues and make it challenging to engage security features. A worn-out ignition cylinder affects the overall security, risking unauthorized access. Addressing the problem promptly guarantees your vehicle's security system functions effectively. You need to maintain a properly working ignition cylinder to keep your vehicle secure.
How Often Should the Ignition Cylinder Be Replaced in a 4runner?
You should replace the ignition cylinder in your 4Runner every 100,000 to 150,000 miles. Don't wait until you experience difficulty turning the key or the key sticking, as these are signs it's already worn out. Regular inspection and maintenance can help you spot issues early. By staying proactive, you can avoid unexpected starting problems and maintain control over your vehicle's reliability.
Are There Any Recalls Related to 4runner Ignition Issues?
You'd think with all the technology, there'd be recalls for 4Runner ignition issues, right? But actually, there aren't any specific ones. It's important to stay on top of this by checking with Toyota or the NHTSA. Address any ignition problems immediately for safety. Regular maintenance is your best bet to avoid issues. So, keep an eye out and take control of your vehicle's health.