If your safe door’s stuck, start by checking for visible obstructions or lock misalignments. Confirm the handle’s fully engaged and inspect for any damage. Use fresh Duracell batteries, verifying correct type and polarity. Lubricate moving parts with graphite-based lubricant to reduce friction. For jammed components, tap gently with a rubber mallet. Carefully verify the entry code, pressing keys slowly. If electronic issues persist, seek professional help. Regular maintenance, like lubricating the locking mechanism and inspecting hinges, can prevent future problems. Stay informed to tackle each specific issue effectively and keep your valuables secure.
Key Takeaways
- Check for visible obstructions or misalignment in the lock and handle.
- Apply graphite-based lubricant to keyways, bolts, and hinges to reduce friction.
- Gently tap stuck components with a rubber mallet to dislodge them.
- Verify the safe handle is fully engaged and inspect for damage.
- Use the default manufacturer’s code to reset and check for electronic lock failures.
Identify the Problem
First, you’ll need to identify whether the safe door is jammed due to mechanical issues or pressure build-up. Begin by carefully examining the lock for any visible obstructions or misalignment. Verify that there are no foreign objects lodged within the locking mechanism that could be causing the jam.
Next, check the safe handle to see if it is fully engaged. Incomplete engagement can indicate internal mechanical issues or signs of damage. Inspect closely the handle and the surrounding area for any cracks, bends, or other forms of damage that might be affecting the lock’s function.
If the lock and handle appear intact but the door remains stuck, consider the possibility of lubrication issues. Sometimes, a lack of lubrication can cause the locking mechanism to seize. Applying a small amount of lubricant to the moving parts of the lock may help resolve this.
Additionally, you can use a rubber mallet to gently tap around the edges of the door. This technique can help dislodge any internal obstructions or pressure build-up that might be causing the jam. By systematically addressing these potential issues, you can effectively pinpoint the root cause of the jammed safe door.
Battery Replacement Tips

To guarantee your electronic safe functions properly, replace the batteries with fresh, high-quality Duracell ones. Verify the correct battery type and polarity according to the safe’s manual. Clean the battery contacts inside the safe to maintain a strong connection.
Fresh Duracell Battery Installation
Installing a new Duracell battery is a dependable solution to resolving electronic access issues in safes. Duracell batteries are highly recommended due to their reliability and durability, guaranteeing your safe doors have sufficient power to open efficiently. Proper battery installation is essential for the smooth operation of electronic safes. Follow these steps meticulously to guarantee your safe’s electronic access functions at its best.
Firstly, locate the battery compartment, typically situated on the inside of the safe door or concealed behind a detachable keypad. Carefully remove the old batteries and insert new Duracell batteries, ensuring the correct polarity. This straightforward step can often resolve power-related issues and restore the smooth functioning of your safe door.
Here’s a quick reference table to guide you through the process:
| Step Number | Action | Notes |
|---|---|---|
| 1 | Find battery compartment | Inspect inside door/keypad |
| 2 | Eliminate old batteries | Dispose of them correctly |
| 3 | Insert new Duracell batteries | Observe correct polarity |
| 4 | Secure battery compartment | Ensure it’s securely closed |
| 5 | Test electronic access | Verify door opens smoothly |
Correct Battery Type Verification
After confirming your safe has fresh Duracell batteries installed, it’s vital to verify that you’re using the correct battery type as specified in the safe’s manual. The manual will detail whether your safe requires alkaline or lithium batteries. Using the wrong type can lead to malfunctions or damage to the electronic components of the safe door.
Next, double-check the battery polarity before inserting them. Incorrect polarity can cause short circuits or other electrical issues, making it impossible to open the safe door due to insufficient power supply. Always align the positive and negative ends of the batteries with the markings inside the battery compartment.
Refer to the safe manufacturer’s guidelines to determine the specific battery requirements for your safe model. The manufacturer’s specifications are essential as they ensure the safe operates at its best. Ignoring these guidelines can lead to issues such as reduced battery life or even permanent damage to the internal electronic components.
Cleaning Battery Contacts
Maintaining your safe’s battery contacts cleanliness is vital for upkeeping a reliable and functional electronic lock system. Start by removing the batteries from their compartment. Inspect the battery contacts for any signs of dirt, debris, or corrosion. Corrosion often appears as a white or greenish residue, which can hinder the electrical connection.
To clean the battery contacts, use a soft cloth to gently remove any loose dirt or debris. For a more thorough cleaning, apply a small amount of rubbing alcohol to the cloth. Carefully wipe the contacts, making sure not to oversaturate them with the alcohol. Rubbing alcohol is effective in removing corrosion and ensuring a solid electrical connection.
After cleaning, allow the contacts to dry completely before reinserting the batteries. This step is essential to prevent moisture from causing further corrosion or short-circuiting the electronic components. Regular maintenance of your safe’s battery contacts can prevent future issues with the lock system and guarantee your safe door opens smoothly when needed.
Incorporating this simple yet precise routine into your maintenance schedule can save you from the frustration of a jammed safe door, guaranteeing your valuables remain secure and accessible.
Mechanical Issues and Fixes
Let’s address common mechanical problems that can cause your safe door to jam. You can often resolve these issues using effective lubrication techniques and gentle force methods. By understanding and applying these fixes, you’ll guarantee your safe operates smoothly and reliably.
Common Mechanical Problems
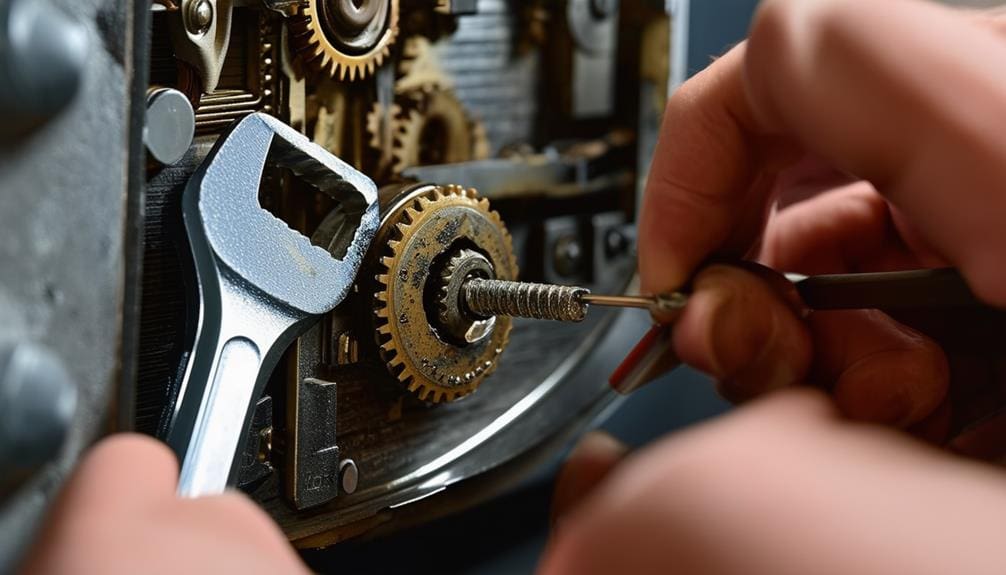
Mechanical issues in secure doors often stem from jammed bolt work or misaligned components, which can usually be addressed through specific troubleshooting steps. Stiff or stuck locking mechanisms are frequently caused by inadequate lubrication, leading to friction among the internal components. To address this, start by carefully examining the bolt work and the locking mechanism for any signs of obstruction or damage. Misaligned components can also prevent the secure from opening smoothly.
If you encounter stuck components, gently tap them using a rubber mallet or hammer. This action can help dislodge any debris or realign the internal parts, facilitating smoother operation. Make sure you apply controlled force to avoid causing further damage to the mechanism.
Additionally, check for signs of wear or deformation in the internal components. Replace any damaged parts to restore the secure’s functionality. Regular maintenance is key; periodic inspection and prompt attention to minor issues can prevent these mechanical problems from escalating. While lubrication is vital, we’ll explore effective techniques in the next section. By understanding these common mechanical problems and their solutions, you can keep your secure in best working condition and secure your valuables effectively.
Effective Lubrication Techniques
Addressing lubrication issues effectively can greatly enhance the smooth operation of your safe’s locking mechanism and prevent future jamming. Start by using a graphite-based lubricant, which is highly recommended due to its ability to reduce friction without attracting dust. Dust accumulation can exacerbate stiffness and lead to further complications.
To apply the lubricant, focus on the keyways, bolts, and hinges. These areas are essential for maintaining smooth functionality. Insert the lubricant carefully into the keyways, making sure it reaches all internal components. For the bolts and hinges, a small application should suffice to reduce stiffness and ease movement.
If your safe door is already jammed, consider using a rubber mallet as a supplementary tool. Gently tap around the locking mechanism to dislodge any internal components that might be stuck due to insufficient lubrication. Be meticulous and controlled in your application of force to avoid causing damage.
Regular maintenance with appropriate lubrication can prevent these issues from occurring. A well-lubricated locking mechanism ensures that friction is minimized, promoting a longer lifespan for your safe and reducing the likelihood of experiencing a stuck door in the future.
Gentle Force Methods
Using gentle force methods, such as light taps with a rubber mallet, can effectively dislodge internal components and release a jammed safe door. Start by directing these gentle taps towards the area near the locking mechanism. This controlled force helps to jolt the safe door open without causing harm.
Here’s a step-by-step approach:
- Identify the Jammed Area: Pinpoint the section of the safe door that appears stuck. This focus guarantees you apply force precisely where needed.
- Apply Gentle Taps: Using a rubber mallet, start with light taps around the locking mechanism. Gradually increase the pressure if the door doesn’t move initially. Be cautious to maintain control over the mallet to prevent causing additional harm.
- Check for Movement: After each series of taps, try the safe door. If it remains stuck, repeat the process, making sure that the force remains controlled and measured.
Code and Lock Verification
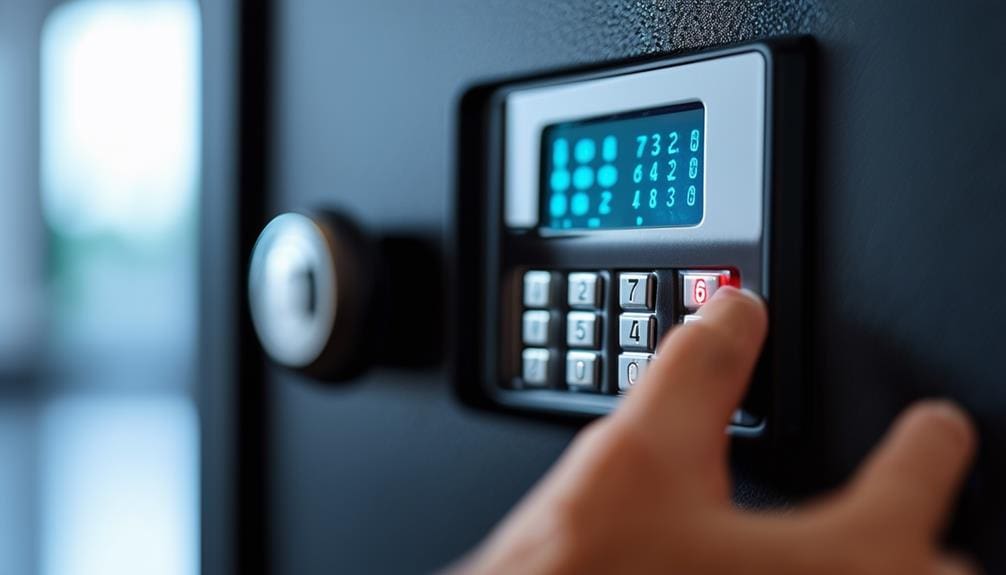
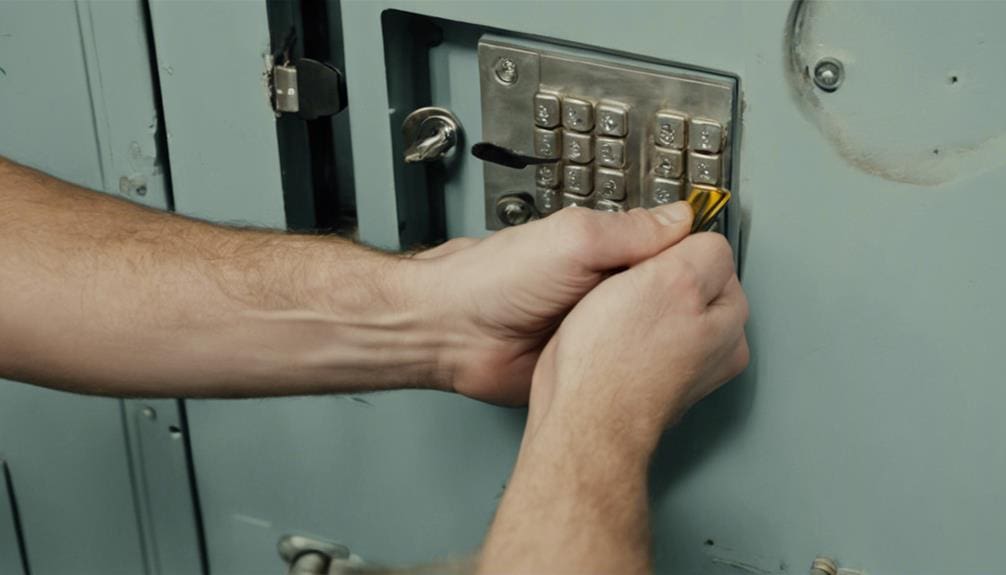
To validate you’re entering the accurate code, meticulously compare it against the secure manual or the default manufacturer’s code. Take your time to confirm each digit is entered accurately, as rushing can lead to errors and potentially trigger the lockout mode. If you suspect a code-related issue, you may need to reset the code following the instructions provided in your safe’s manual.
When testing the code, press each key slowly and deliberately. This approach guarantees the keypad registers every number correctly, reducing the possibility of error. Be cautious not to apply excessive force on the keypad, as doing so could harm the lock mechanism and worsen the problem.
If you’re uncertain whether the code is correct, consider trying the default manufacturer’s code, if applicable. This step can help eliminate any code-related issues. Remember, accuracy is crucial: a single incorrect digit can hinder access.
In situations where you’re consistently entering the accurate code and the door remains stuck, it may be necessary to further troubleshoot or explore alternative solutions. Keep your manual handy for reference, and avoid forcing the door open to prevent further complications.
Professional Help Options
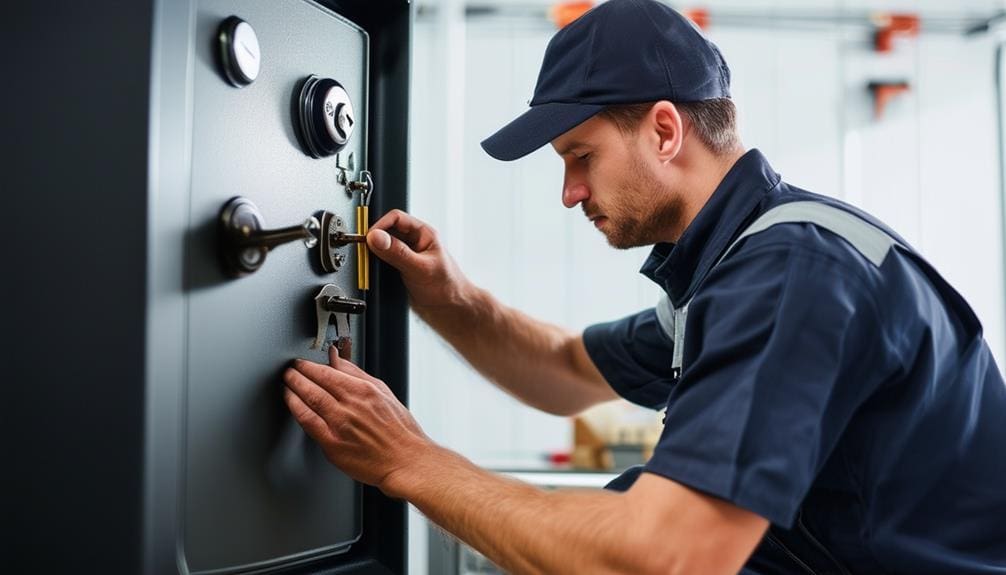
When you’re dealing with a jammed safe door, seeking professional assistance can often be the most effective solution. A reputable locksmith or safe technician is equipped to handle a variety of issues, from complex mechanical malfunctions to electronic lock failures. Here’s why professional support is indispensable:
- Expertise and Tools: Safe technicians have specialized tools and knowledge for safe door repairs. They can address problems like broken key tabs or activated relockers without causing further harm.
- Manufacturer Guidance: Sometimes, the issue might be covered under warranty. Contacting the safe manufacturer can provide guidance or even a referral to a trusted professional.
- Electronic Lock Failures: Electronic locks can be particularly challenging. A locksmith experienced in electronic lock failures can effectively troubleshoot and resolve these issues, ensuring your safe functions properly.
Don’t risk causing more harm to your safe by attempting repairs yourself. A professional can not only fix the issue but also guarantee the security of your valuables. Remember, professional assistance might seem like an added expense but it’s often the most reliable and secure way to regain access to your safe.
Electronic Component Checks
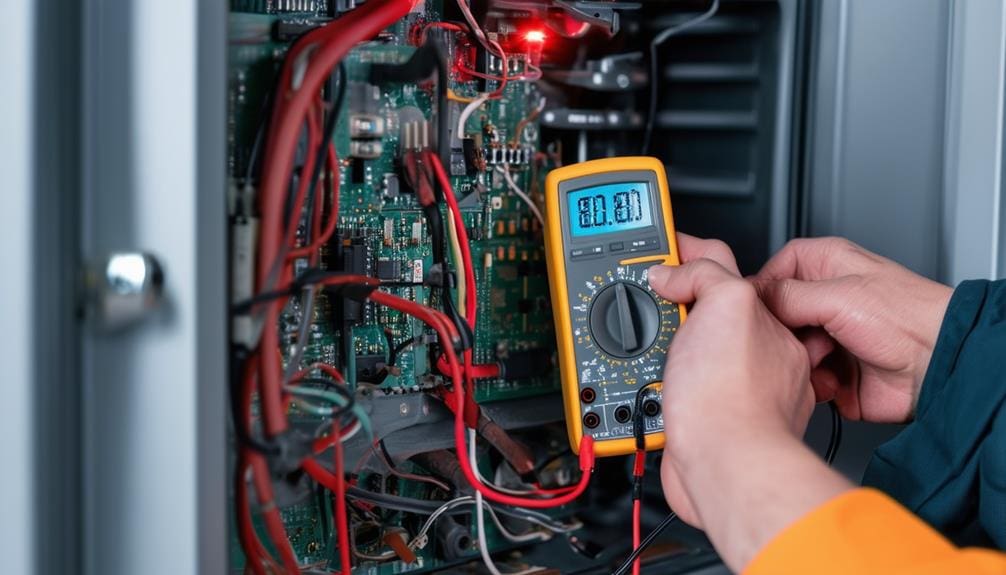
Start by examining the wiring for any visible damage, as even minor issues can disrupt the electronic components of your safe. Carefully inspect all wires connected to the keypad and electronic lock. Look for any frayed or exposed wires that could be causing a malfunction. If you spot any damage, you may need to replace the wiring or consult a professional.
Next, test the keypad for responsiveness. Press each button to make sure they all register properly. A keypad malfunction can often be traced back to unresponsive buttons, which might require a replacement if they don’t work consistently.
Check for signs of water damage on the electronic components. Moisture can lead to severe malfunctions, so ensure everything is completely dry before you proceed with any further troubleshooting. Look for corrosion or discoloration, as these are telltale signs of water exposure.
If the keypad and wiring appear intact but the safe still won’t open, consider replacing the electronic lock. Persistent issues after thorough examination often indicate deeper problems within the electronic components. By methodically checking each part, you can isolate the problem and take appropriate action to restore functionality to your safe.
Preventive Maintenance Steps
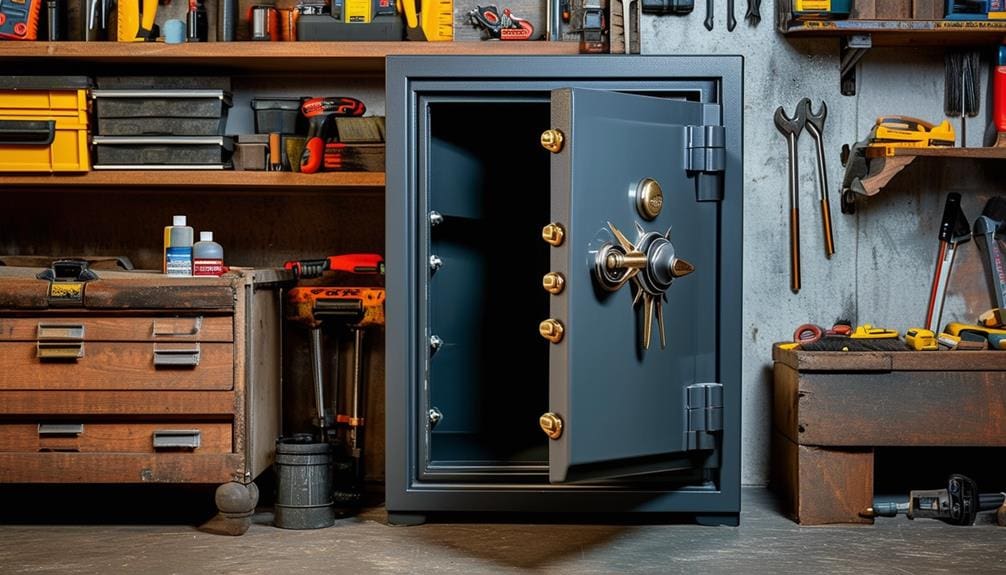
After addressing potential electronic issues, you should focus on preventive maintenance steps to guarantee your secure operates smoothly over the long term. Regular secure maintenance can prevent many common problems that lead to jammed doors. Here’s a detailed guide to help you keep your secure in top condition:
- Lubricate the locking mechanism: Use a graphite-based lubricant to reduce friction and secure smooth operation. Apply it sparingly to the lock components, as too much can attract dust and debris.
- Inspect door hinges: Regularly check the hinges for signs of wear and tear. If you notice any damage or excessive wear, replace the hinges immediately to prevent the door from sticking.
- Check for loose screws: Periodically inspect all screws and bolts on the secure door. Tighten any that are loose to maintain proper alignment and prevent mechanical issues.
Additionally, keep the secure interior clean and organized. This will help you avoid items interfering with the door mechanism. Also, avoid overloading the secure with heavy items, as this can create pressure that may cause the door to become stuck. By following these steps, you’ll ensure your secure remains functional and secure.
Frequently Asked Questions
How to Open a Door That Is Stuck?
To open a stuck door, lubricate hinges and check for obstructions. Apply gentle force to avoid damage. If it remains stuck, use your safe key. If all else fails, call a locksmith for professional assistance.
How to Fix a Door Lock That Is Jammed?
To fix a jammed door lock, identify common causes like misalignment or debris. Use lubrication methods and DIY techniques, such as graphite lubricants and gentle tapping. If unsuccessful, seek professional help. Regular maintenance serves as preventive measures.
What to Do if Sentry Safe Won’t Open?
If your Sentry Safe won’t open due to a forgotten combination, dead battery, lost override key, or mechanical failure, try contacting Sentry Customer Service. If all else fails, you might need an emergency locksmith for assistance.
Why Won’t My Safe Door Close?
When push comes to shove, your safe door might not close due to safe lubrication issues, loose hinges, or a misaligned bolt. Heavy contents or an electronic malfunction could also be the culprits. Inspect thoroughly.
Conclusion
You’re now armed with the tools to tackle that stubborn safe door. Remember, it’s not just a door; it’s the guardian of your treasures. From replacing batteries to verifying codes, every step counts. If all else fails, don’t hesitate to call in the cavalry—professional help can be a lifesaver. With regular maintenance, you’ll keep this guardian in top shape, ensuring it remains a steadfast protector of your valuables. Happy troubleshooting!