Rekeying your locks starts with removing the doorknob to access the lock cylinder. Once you’ve taken out the cylinder, you’ll need to change the pins inside, adjusting them to match your new key’s specifications. This process is important for making sure that your old keys won’t work and enhancing your lock’s security. Use a specific rekeying kit for your lock brand for best results, as these kits come with the right tools and pins. After changing the pins, carefully reassemble the lock and test the new key to guarantee smooth operation without any resistance. Interested in making your home safer? There’s more to explore on enhancing your security.
Understanding Rekeying Basics
Rekeying involves altering the pins in your lock so that a new key operates it, while keeping the existing lock hardware intact. Imagine telling your old keys, “You can’t sit with us!” and handing exclusive club passes to your new keys. This little makeover for your locks isn’t just about getting fancy new keys; it’s a security upgrade. By changing the pins within the cylinder, you guarantee old keys are as useful as a chocolate teapot. Rekeying kits make this process doable for the same brand of locks, enhancing uniformity. Don’t fancy a DIY disaster? Professional locksmiths are your go-to for a warranty-backed rekey. They’ve got the skills to make sure your lock’s security isn’t just a roll of the dice.
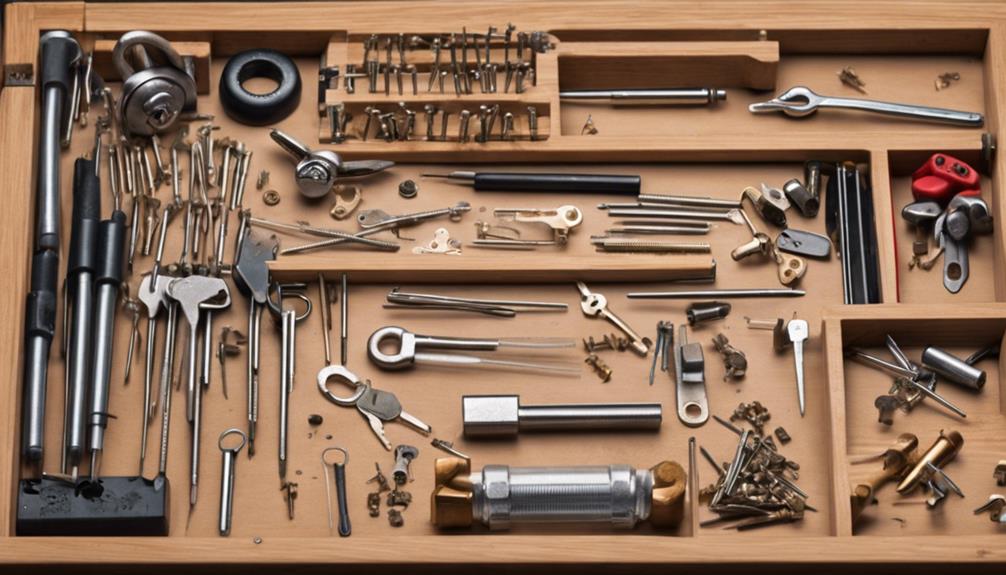
Necessary Tools and Kits
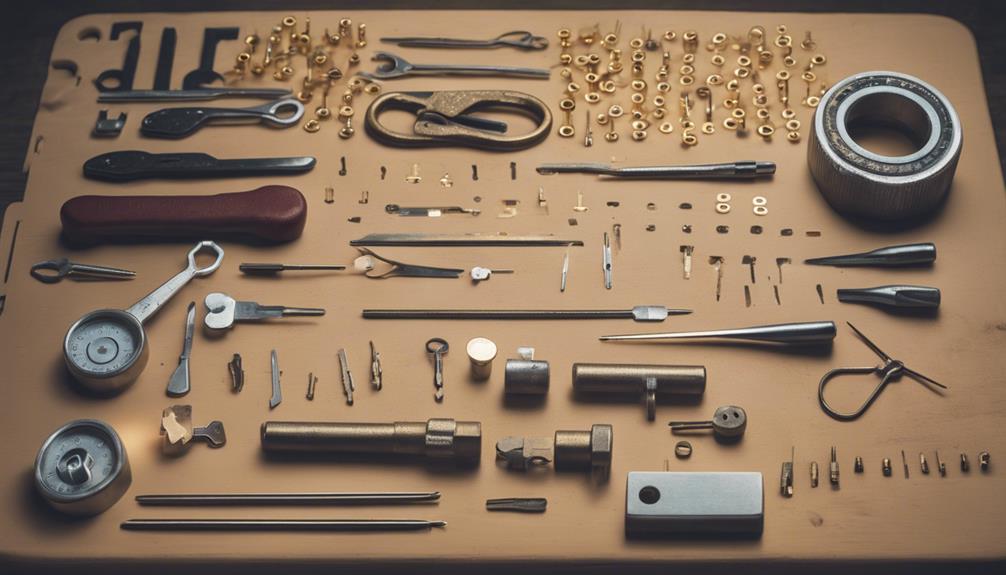
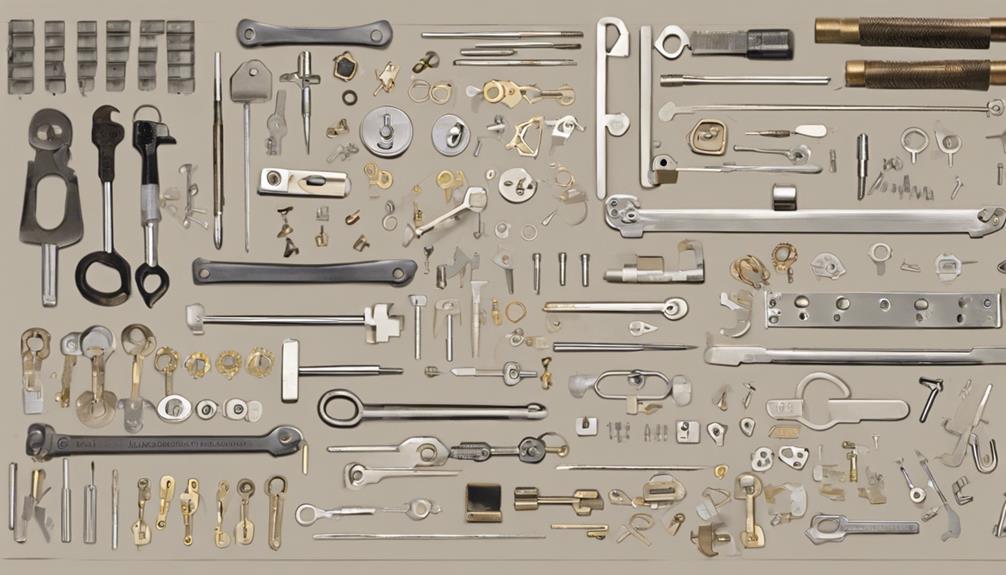
To successfully rekey your locks, you’ll need a specific rekeying kit designed for the brand of your lock. These kits aren’t one-size-fits-all, so you’d better know your Schlage from your Kwikset unless you want to turn your security upgrade into a magic trick gone wrong. Each kit typically costs between $10 to $25 and can handle up to six locks, provided they share a brand allegiance. Need to rekey more? Just order additional pins for the same brand. Using the correct kit turns the rekeying process into a smooth and efficient operation, boosting your property’s security and ensuring you maintain control over who has access. Remember, the right tools are your ticket to a peace-of-mind party!
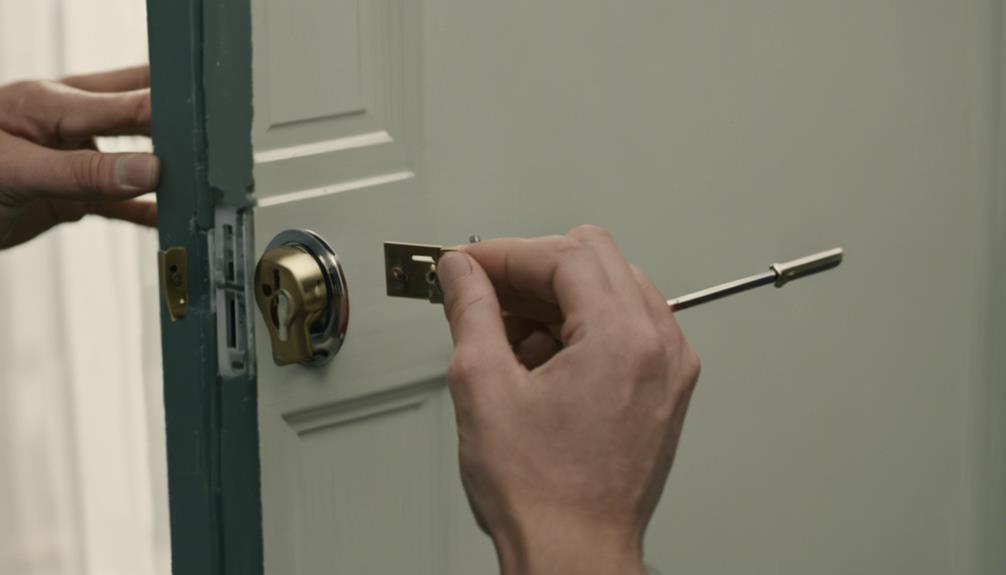
Removing the Doorknob

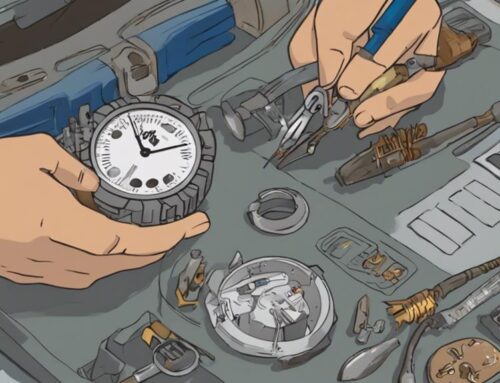
Why start with the doorknob when rekeying your lock? Removing it is the initial step to accessing the essential internal components. To initiate things, you’ll want to remove that doorknob, which is basically like opening the gateway to your lock’s inner mysteries. Think of it as the cover of a book before you delve into the juicy story—the cylinder and key plug inside.
Now, don’t just pull it off! You’ll need to disassemble it carefully. Experiment with your key placement; this finicky step helps align the cylinder just right, setting you up for success. Grab those tweezers or a handy wire tool because they’re perfect for nudging out stubborn parts without turning your lock into modern art. Remember, gentle does it!
Extracting the Cylinder

Now that you’ve removed the doorknob, you’re ready to tackle the next step: extracting the cylinder. First, you’ll need to identify the lock cylinder, which is the core part where the key enters. Next, carefully remove the cylinder pins; these are critical for accessing the internal mechanisms necessary for rekeying.
Identifying Lock Cylinder
Before you can rekey a lock, you’ll need to identify and extract the lock cylinder from the assembly. This elusive little component is the heart of the operation, hiding like a secret agent within the lock assembly. Identifying the lock cylinder involves recognizing it amidst its metal entourage and then coaxing it out from its lair. You’ll push it through the back of the knob assembly as smoothly as a spy sliding under a laser security beam. Getting this part right is essential; proper removal provides access to those internal components that are just itching for a makeover. Successfully extracting the cylinder sets you up to replace the pins, turning the rekeying process into a breeze. Remember, no pressure, but the fate of your rekeying success hangs in the balance!
Removing Cylinder Pins
Having successfully extracted the lock cylinder, you’ll next remove the pins inside to start the rekeying process. First, you need to remove the key plug from the cylinder plug—think of it as the lock’s treasure chest, but instead of gold, it’s stuffed with tiny pins and springs. Insert a plug follower (a lifesaver tool) behind the cylinder plug to push it out gently. Be careful! If the plug follower isn’t aligned just right, those tiny pins and springs can launch into orbit.
Once you’ve removed the cylinder plug, you’ll see the pin and tumbler setup. Remember, the new pins must match the new key. Slide out the old pins, keeping the follower in place to avoid a springy surprise, and you’re halfway to mastering rekeying a lock!
Cylinder Inspection Steps
To guarantee a smooth rekeying process, first align the keyway slot with the removal tool hole for cylinder inspection. You’ve got to make sure that removal tool slides in as snug as a bug in a rug before you even think about nudging that cylinder out. It’s like coaxing a turtle out of its shell—gently does it! Remember, if you’re too rough, you might just end up with a lock salad (and nobody wants that). Once aligned, press on the removal tool cautiously. A slight push should help you extract the cylinder, giving you access to the magical world of pins and plugs inside, ready for your rekeying adventure. Keep it smooth, keep it gentle. You’re practically a lock whisperer!
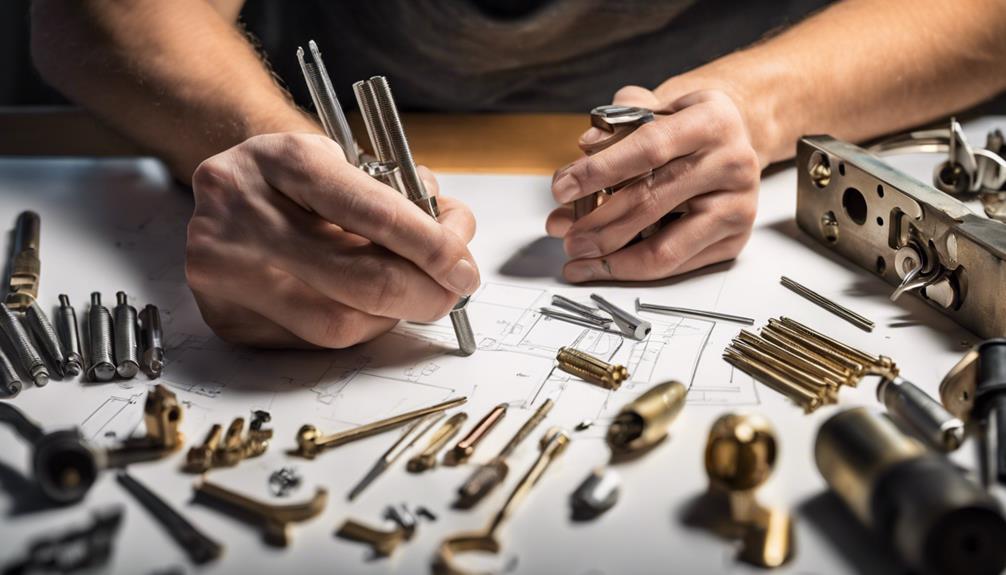
Changing the Pins
When rekeying a lock, you change the pins inside to align with the new key’s specific groove depths. Think of it as matchmaking, but instead of finding a perfect dinner date for yourself, you’re pairing up pins to the unique contours of a new key! Precision here is key—pun intended. Each pin must be swapped to match the new key cuts, ensuring the lock function doesn’t throw a tantrum when you try locking and opening. This fiddly business guarantees that the pins perfectly match the key groove depths. Without this meticulous attention to detail, your lock might just give up on its one true job. So, grab those tiny pins and get them lined up right!
Reassembling the Lock
Once you’ve changed the pins, you’ll need to reassemble the lock by first inserting the cylinder back into place. Make sure the pins are aligned correctly to guarantee the mechanism functions smoothly. Finally, test the lock with the new key to confirm everything is set up properly.
Inserting the Cylinder
Insert the cylinder back into the knob assembly carefully, ensuring it aligns perfectly for smooth operation. You’ve got this! After using the rekeying kit to insert the new pins, it’s time to reattach the clip ring. Make sure to align the key plug just right—think of it as a mini puzzle where everything needs to fit perfectly to open the magic of your door again!
| Step | Tip |
|---|---|
| Cylinder Reinsertion | Guarantee alignment for smooth turning |
| Attach Clip Ring | Use rekeying kit tool for security |
| Align Key Plug | Precision is key for functionality |
| Check Components | Double-check positioning is correct |
Aligning the Pins
After aligning the key plug as described, you’ll want to carefully position the new pins to match the key’s groove depths. Now, it’s time to get those pins in line—like ducks in a row, but much smaller and less quacky. Each pin must slide into its own little home, precisely matching the depth indicated by the key grooves. This isn’t just about making things fit; it’s about crafting a seamless dance between the pins and the key that allows your rekeyed lock to function without throwing a tantrum.
Grab your rekeying kit and start the alignment. Remember, the placement of each pin is important for the smooth operation of the lock mechanism. Don’t rush—precision is your new best friend here.
Testing the Mechanism
Before reassembling the lock, make certain all components are properly aligned to facilitate smooth testing with the new key. First off, you’ll want to guarantee correct alignment of all those pesky lock parts—because who enjoys a jammed lock? Not you! Remove the clip and the cylinder, making sure to align the holes just right. It’s a bit like that game Operation, but with fewer buzzers.
Next, insert the key and gently test the lock. Does it turn as smoothly as butter? Fabulous! Reattach the knob and give it another go to confirm proper functionality. If it’s still acting up, don’t play hero—seek professional assistance. Remember, a well-functioning lock is the key to peace of mind!
Testing the New Key
Make sure you test the new key in the rekeyed lock several times to check for smooth operation. Now, don’t be shy—give that key a workout! Twist it left, twist it right, and feel for any sticking or resistance. You’re not just turning a key; you’re a locksmith apprentice, ensuring every tumbler falls into place perfectly. Does the key glide like a hot knife through butter? Or does it feel like you’re trying to release a medieval dungeon? Confirm that the lock mechanism isn’t just playing hard to get—it should latch and release without throwing a temper tantrum. If all moves smoothly, you’re almost done with the reassembly process. Congratulations, you’re about to pass Locksmithing 101!
Frequently Asked Questions
Can Rekeying a Lock Compromise Its Security?
Rekeying a lock is like updating your password; it doesn’t weaken your security if done right. When you get a lock rekeyed by a professional, they change the internal pins to fit a new key. This step guarantees that old keys become obsolete, preventing unwanted access. However, if you try a DIY approach and botch it, you might as well leave your doors wide open. Always opt for a professional to maintain security.
How Often Should I Rekey My Home Locks?
You should rekey your home locks periodically, ideally every time you move, lose a key, or change roommates. This keeps your security tight by preventing old keys from working. Many locksmiths suggest rekeying every few years as a proactive measure, even if no major changes have occurred. It’s a simple way to guarantee no unwanted visitors can sneak in with an old key they shouldn’t have anymore!
Is Rekeying Covered Under Typical Homeowner Insurance Policies?
Suppose you’re imagining your home as a fortress; rekeying is like changing the guards. Unfortunately, typical homeowner insurance policies don’t cover this security shuffle. They usually cover damage from theft or forced entry, not the costs of rekeying. That’s on you to foot the bill! It’s a preventive measure, so you’ll want to check your policy or consider adding specific coverage if you’re keen on keeping those metaphorical guards fresh.
Are Electronic or Smart Locks Rekeyable?
Yes, you can definitely rekey electronic or smart locks, and it’s simpler than you might think! Usually, you just need to change the access code or reprogram the lock through a mobile app or online platform. No need to mess with physical keys or pins. It’s all done digitally, which adds convenience and enhances security. So, if you’re thinking about switching things up, rekeying your smart lock is a straightforward task.
What Are the Risks of DIY Rekeying Versus Professional Services?
Diving into DIY rekeying might seem like a cheap thrill, but it’s fraught with pitfalls. You risk botching the job, leading to damaged locks or worse, a full-blown security breach. Professional locksmiths, on the other hand, guarantee the job’s done right, keeping your sanctum secure. They’ve got the tools and know-how, saving you from voided warranties and potential lockouts. So, isn’t peace of mind worth the extra dime?